Installing the toolbox
There are different ways to install MISLAND, depending on whether you want to install the stable version (recommended) or the development version.
Installing the stable version
Once QGIS is installed open it by searching in the for the QGIS icon on your computer’s desktop or program menu.
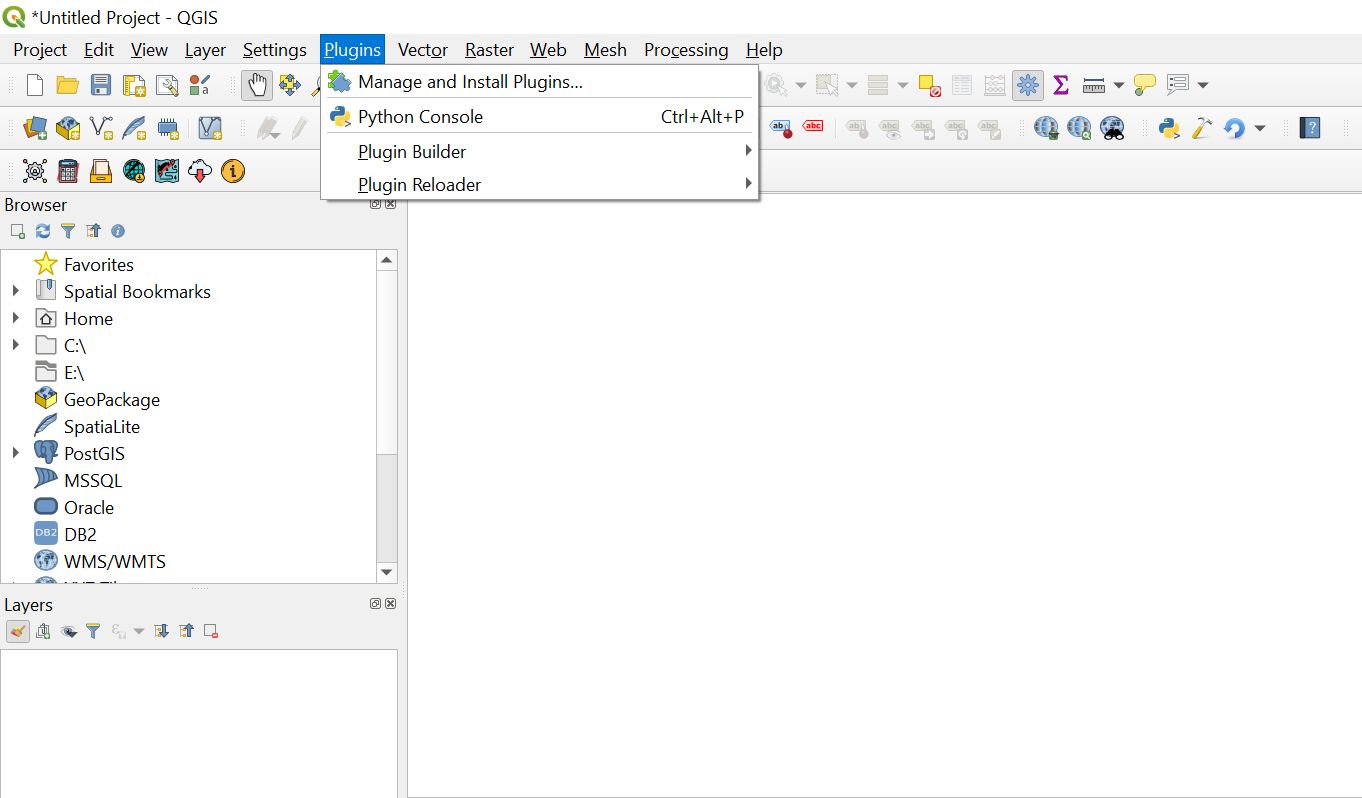
Once QGIS loads, search in the menu bar for Plugins. Click and a drop down menu will open.
Click on Manage and Install plugins. The Plugins window will open.
In the search window type MISLAND.
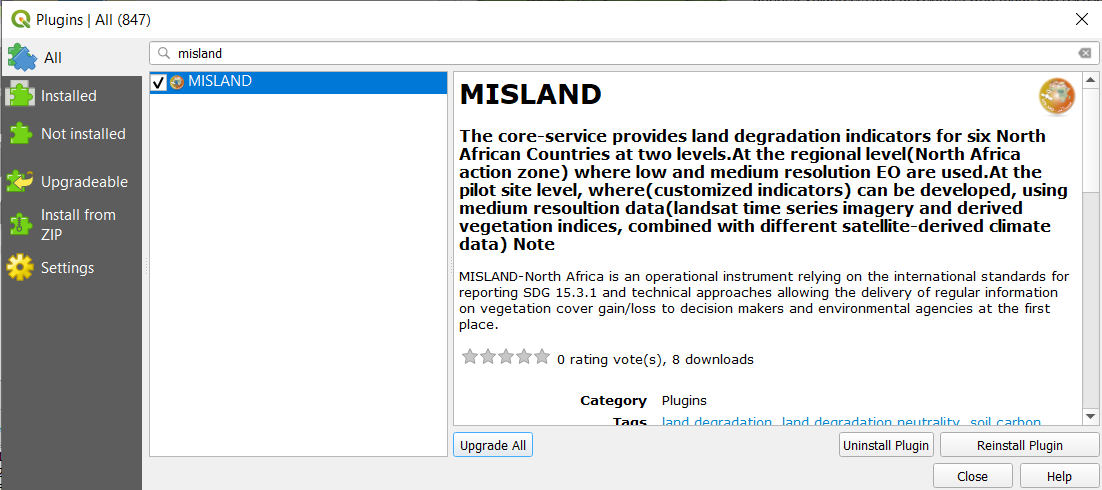
Click on the MISLAND plugin icon in the middle window and information on the toolbox will be displayed in the panel to the right
To install the plugin click Install plugin button located in the bottom right section of the window. A small window will pop-up showing the progress bar for the download and installation of the MISLAND plugin. This process could take a few minutes depending on the speed of the Internet connection and the computer you are using.
If your plugin has been installed properly, there will be a menu bar in the top left of your browser that looks like this:

Note
If you already have the development version (installed via zipfile) installed then click on upgrade plugin button to upgrade it to the stable version.
Installing the development version
The latest development version of the MISLAND plugin can be downloaded at MISLAND Development Version
To install from within QGIS, first launch QGIS, and then go to Plugins in the menu bar at the top of the program and select Manage and install plugins.
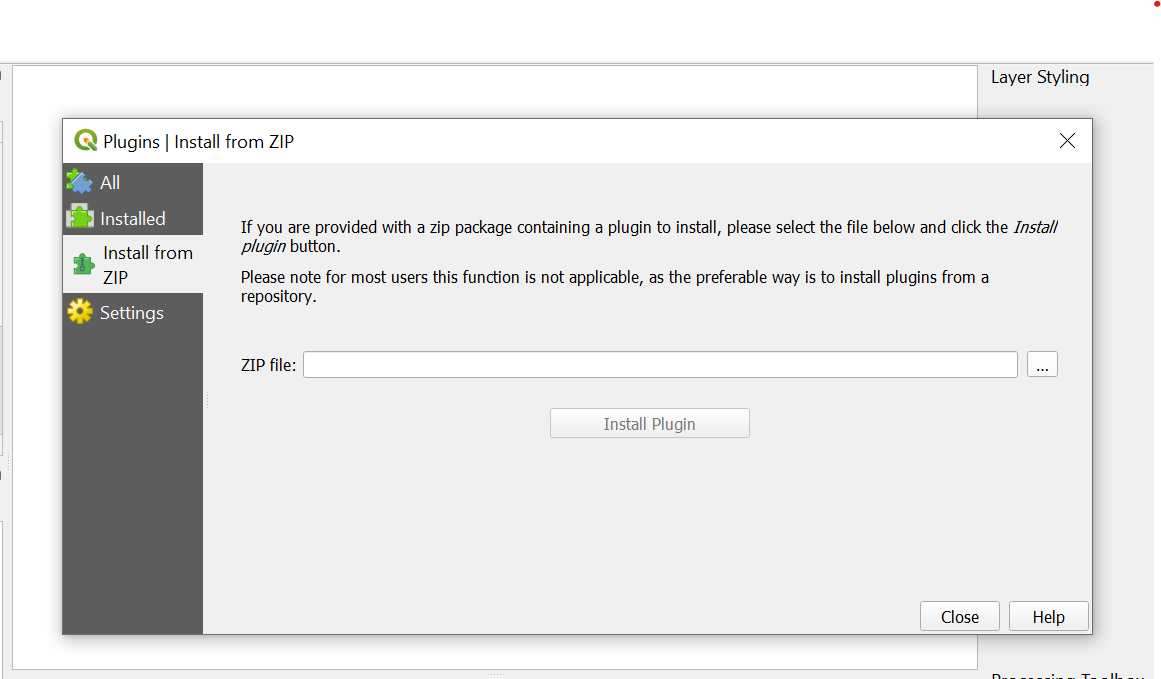
Then search navigate to Install from ZIP and upload the LDMS plugin zipfile
If your plugin has been installed properly, there will be a menu bar in the top left of your browser that looks like this: